8 Steps To Save Old Family Albums
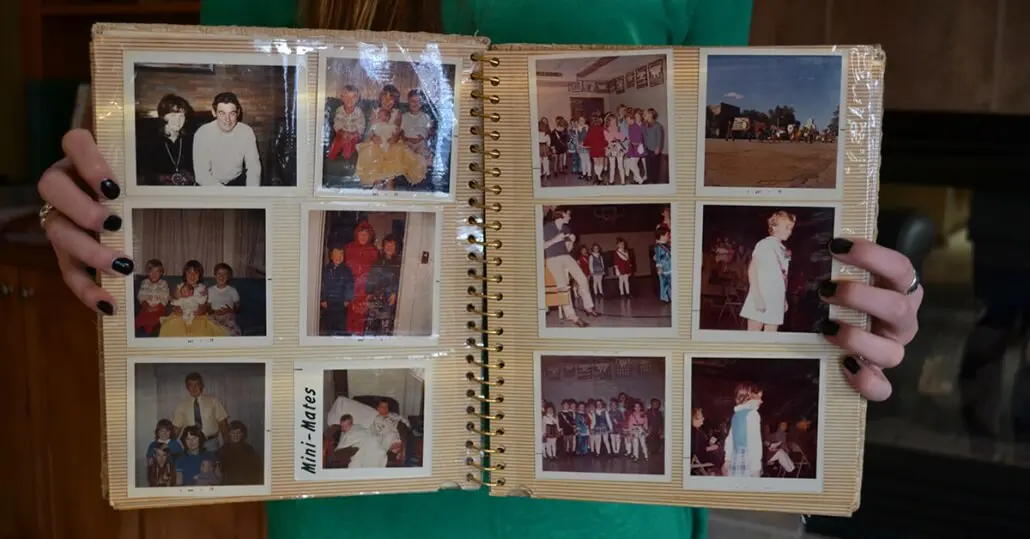
I’ve heard one too many stories of people bagging up their old family photos and albums and tossing them to the curb. It hurts my heart to see the years of family history and knowledge that these photos provide in the mix with old coffee grounds, rotting roses or last week’s tuna casserole.
The myth that future generations won’t care about these old photos prompted the mass disposal of truly invaluable family photo albums. However, in the ever-evolving digital age, old printed photos of our ancestors or relatives have become a prized treasure in the lives of young people. Photographs tell us where we came from and help give many a sense of identity. To best preserve your family’s history, here are eight ways to take care of those images and keep them out of the trash.

1. Store Safely. To start, I highly recommend simply placing your photo albums in archival-safe plastic bags so that the natural elements, most commonly dust and sunlight, don’t get to your photos. (More on the further organization of your photo albums later.)
If your photos already rest inside photo-safe plastic sleeves or are stuck to acid-free scrapbook paper, you don’t need to worry about taking them out of these albums. They are safe, and these plastic bags provide additional protection to your albums when they’re stored.
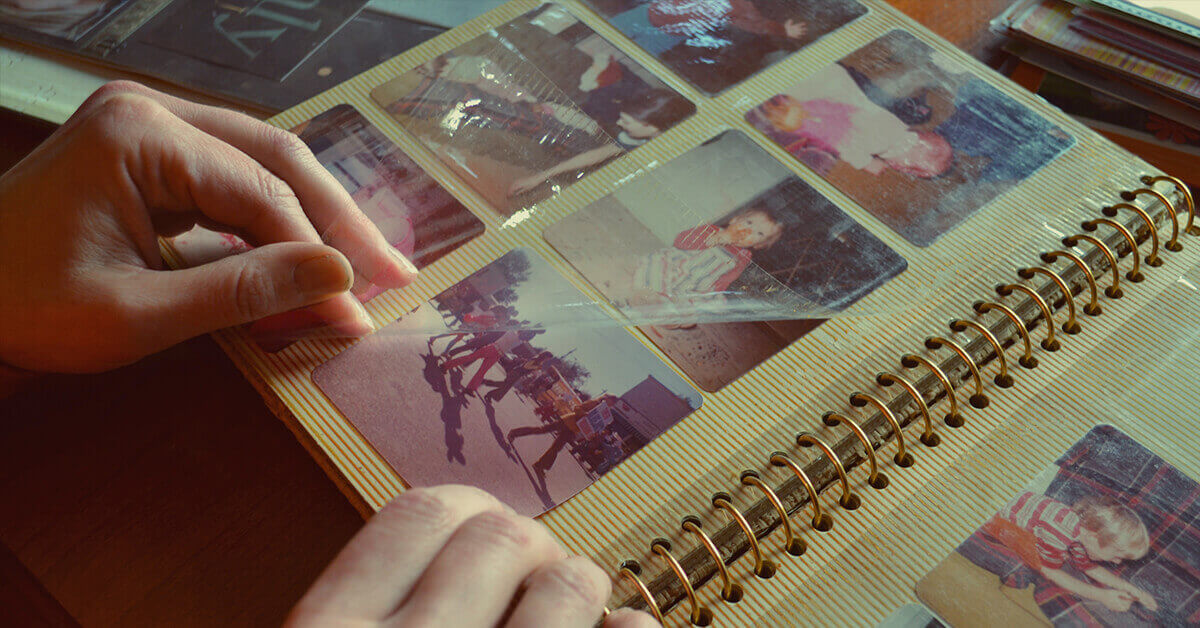
2. Beware of old albums. If your photos are in so-called magnetic albums, take them out as soon as possible! The chemicals used in these albums are highly detrimental to photos. These albums, in fact, are not magnetic but instead use an adhesive on a page in which you sandwich a photo between a sticky coating and a plastic sheet. The culprit of destruction is the highly acidic glue, which causes photos to yellow and makes them very difficult to remove.
3. Remove stuck photos (if you can). So how do you get these photos out of the dreaded magnetic album? First, I don’t recommend using anything resembling a knife. This practice risks further damage since just one slip could slice through an entire photo.
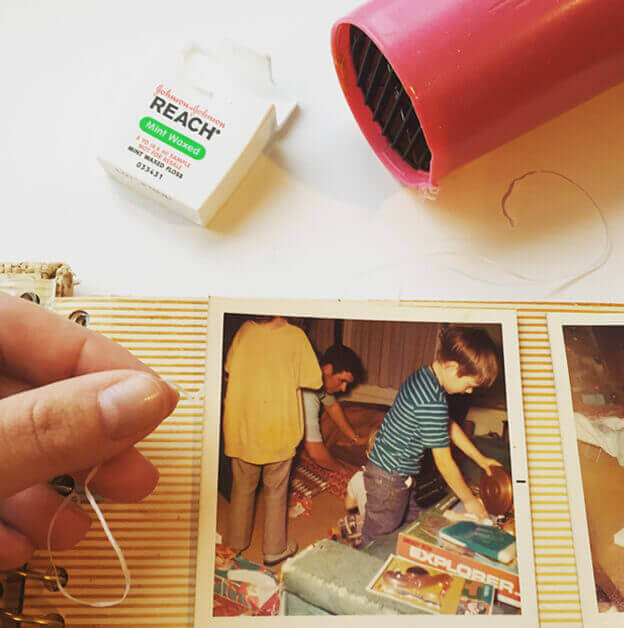
Instead, use dental floss. Just lift one corner of your photo and gently saw the dental floss back and forth underneath until it becomes unglued. If a photo is especially difficult to peel off the sticky paper, you can use a hair dryer to heat up the glue and melt it into compliance.
Keep in mind that if the photos in these albums are more than 60 years old, the damage has likely already been done and taking them out could cause even more irreparable harm. Consider the magnetic album to be the final resting place for antique photos.
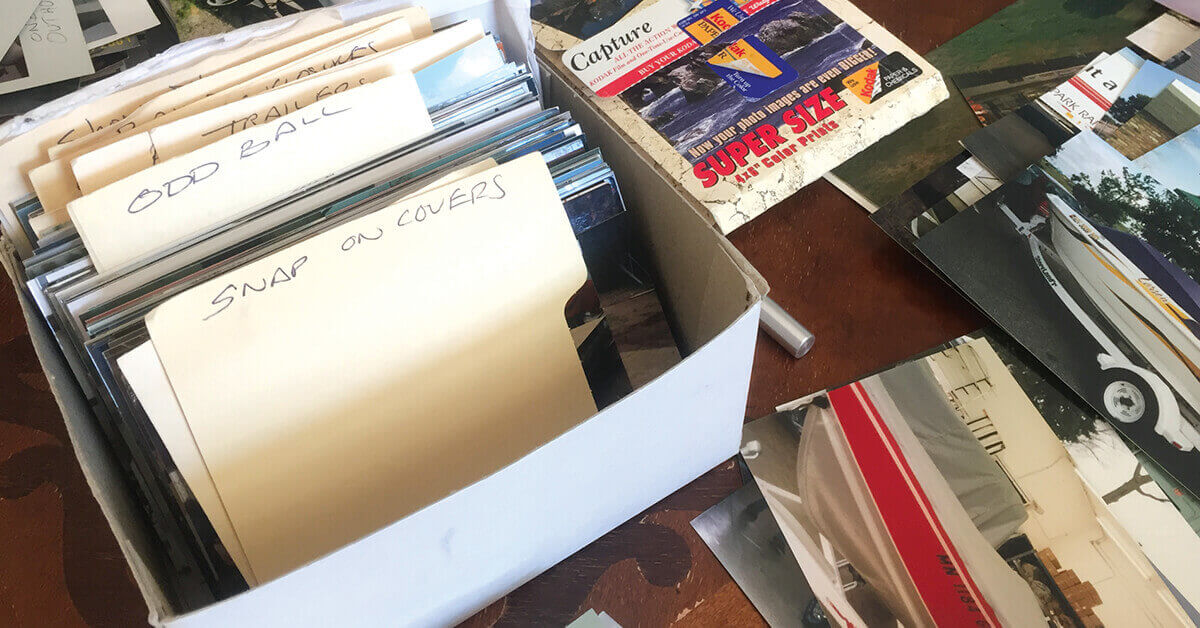
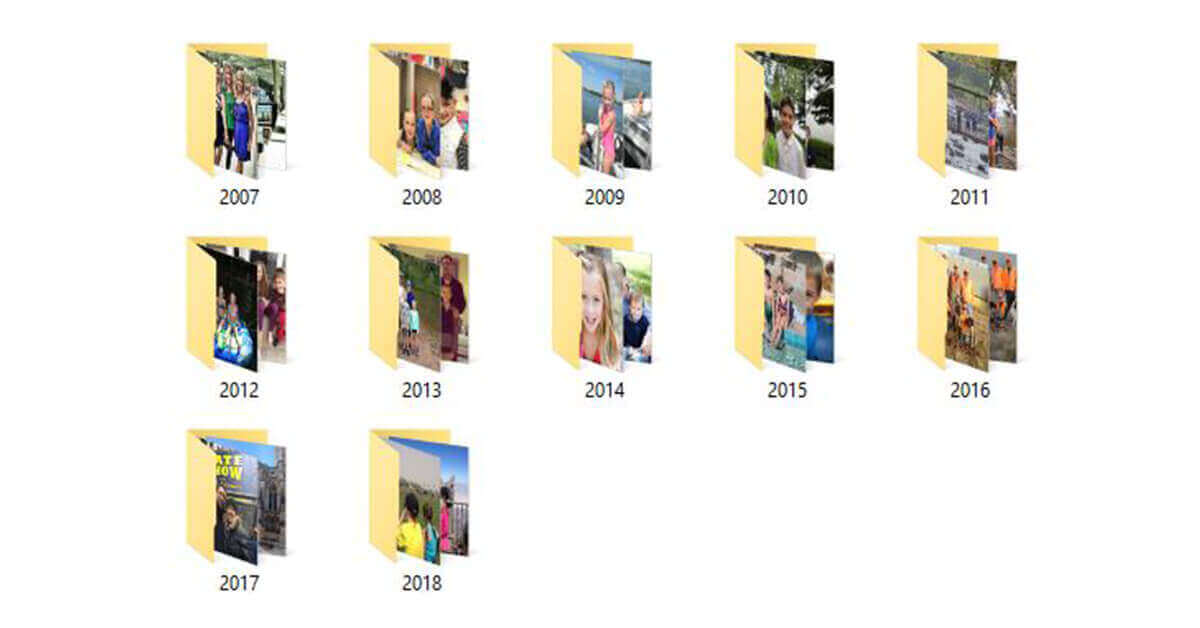
4. Jot down details. Preserving the written knowledge is just as important as preserving the actual photos. Make sure to note dates and corresponding info as you peel photos out of albums. It’s important to know the timeline of these photos as well as who or what the subjects are.
You can use index cards to record this information until you can provide a new home for your photos, or use an archival pencil to write information on the back of the photos themselves. If you find additional documents that are crucial to the story behind a photo, like notes, birth certificates or newspaper clippings, keep them with the photo so that you can place them side by side in the new album.
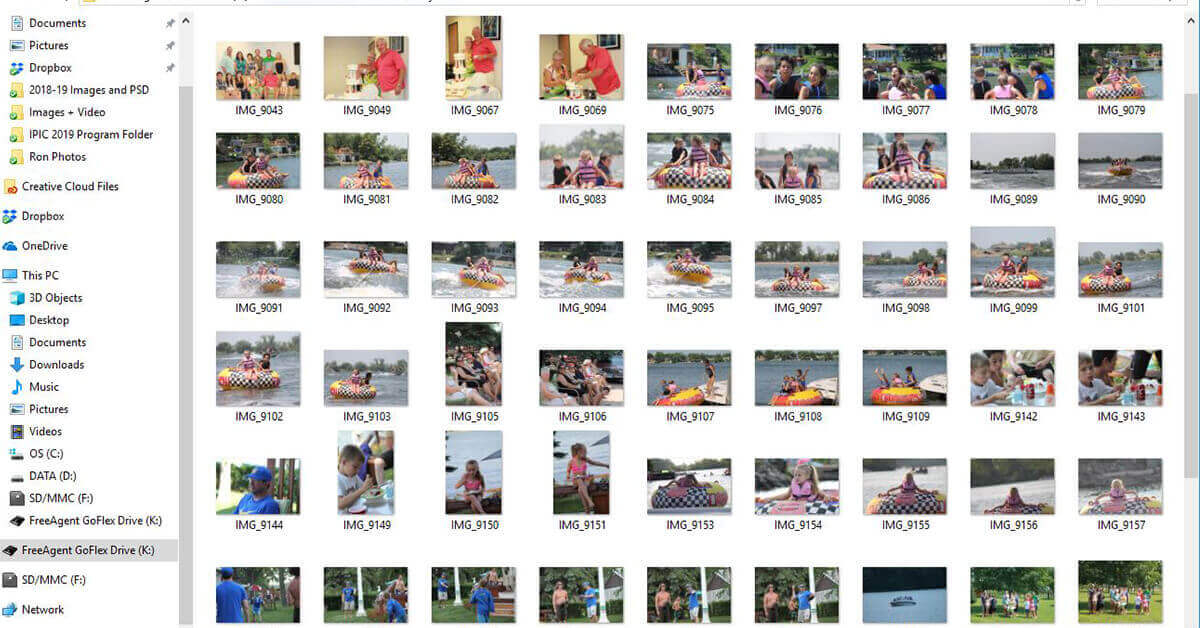
5. Create a digital backup. Before putting your photos in a new nonmagnetic photo album, consider scanning them. Doing so will guarantee access to your history should an accident or the natural progression of time destroy the original prints. Once they’re scanned, you have the option to create digital scrapbooks that you can share with family and friends.
6. Compile your photos in a safe album. Today you have many choices for photo albums. You can still purchase traditional styles that allow you to place the actual photo in a photo-safe sleeve or a scrapbook album. If you have digitized, you photos you can easily create a digital photobook.
7. Make albums accessible. If you’re someone who prefers to flip through photo albums often, you can always display them around the house. Consider making a digital photo album with the scans and storing the original photos in a safe place. Bookshelves are common places to store your albums. If they’re in sight, I can guarantee that family members will find them and crowd around the photos to laugh and revel in a shared history.

8. Frame a few. Don’t forget to display some of your favorite photos! You can them hang in frames around the house, and they will undoubtedly become a favorite conversation starter. I recommend printing out the scanned version of these photos and then keeping the originals stored safely in a photo album. Poisonous UV rays are likely to creep through windows and shine upon the photos you have on display, so keep the originals safe.
If you take the steps necessary to properly preserve your family history today, future generations will also be able to take part in the joy and revelation that comes with untangling the mysteries of the past. Not only is it amusing to look back on the ludicrous trends and hairstyles, but these photos also provide a sense of connection to our past and our future. Our personal family histories connect us to the people who came before us and make sense of the world we are living in now.
Bio: Cathi Nelson, author of Photo Organizing Made Easy; Going from Overwhelmed to Overjoyed, is the founder of APPO (Association of Personal Photo Organizers), a membership organization dedicated to helping thousands of entrepreneurs from around the globe build successful photo preservation and organizing businesses.


Leave a Reply
Want to join the discussion?Feel free to contribute!