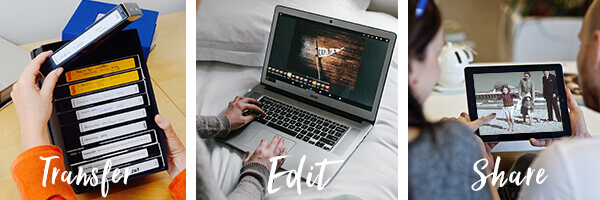
Video is Everywhere. Transfer, Edit, Share.
With a little fear and sadness, the last post was a reminder that we all have valuable old movies growing obsolete and inaccessible in our memory archives. Here’s how to have them transferred and, more importantly, what to do then.
This is often the most daunting part because it raises a lot of questions. Where do I take it? Is it safe? What do I get back? How do I play it? Answers: Stay local and start with a small batch of one or two tapes or reels. If we don’t do it, we have a partner who does and we won’t risk (and don’t recommend) possible damage or loss in shipping.
Have it transferred to MP4. It’s a high quality, universal format of digital video. DVD or Bluray might sound simpler, but those formats are nearing obsolescence too so you’ll have to ‘rip’ them to digital video later for further editing and sharing. Having your movies transferred directly to MP4 leapfrogs that step.
2. Edit
A good transfer service like ours will remove dead space and divide long tapes into shorter clips for you. But since there’s a good chance you won’t have been able to preview the footage first, you may still want to edit the video you get back.
First, copy the full versions to the same hard drive and cloud storage you trust for your photo backups. We’ll use Youtube because it’s great for editing and sharing. That shouldn’t be your only copy though.
If you have a Gmail account, use it to log into Youtube and click upload. Your first channel, like an album, is created by default. Drag your .mp4 into the window and while it uploads and processes, add your title, description, and tags (names, places, events). I begin my titles with the year the movies were filmed, so they’re listed in order later.
Once published, click the edit button to access all sorts of tools. To trim and clip out unwanted pieces, look for the “Enhancements” tab and then the “Trim” button. A timeline appears at the bottom where you subtract the beginning, end or pieces in the middle. When you’re done, save it as the original or as a new version. Done!
3. Share
Your Youtube channel is public by default so that anyone you share a link with can view it, and it’s searchable on google. You can set your channel or individual videos to private, or even unlisted so that they can only be seen by you and those you allow. This is great for family because, if you give them permission, family members can help edit, title, tag and comment. One person can transfer and upload and you or someone far away can return later to refine them incrementally.
This is just the basics but if you’ve made it this far, you’re ready to tackle your first transfer. Call our experts today to get started!


Leave a Reply
Want to join the discussion?Feel free to contribute!